Getting Started Guide
From PropertyMinder WIKI
(Created page with "PropertyMinder's team is happy to bring you the cutting edge technology that will enhance you business. We are sure that working with our product can also be a fun for you. We ho...") |
m (moved Getting Started P to Getting Started Guide) |
Revision as of 01:29, 20 June 2011
PropertyMinder's team is happy to bring you the cutting edge technology that will enhance you business. We are sure that working with our product can also be a fun for you. We hope you'll enjoy it.
Your AccelerAgent website is more than just a web page. AccelerAgent is packed with powerful tools not only will bring visitors to your website but will keep them interested and updated in your service. Therefore, we recommend you to follow these short checklist in order to get started and get accustomed to AccelerAgent product:
- Accept Terms of Use: The Terms of Use acceptance is located initially on the front page of your website where you will be able to review the full document. To accept simply type your email address and check the acceptance box at the bottom of the page. This will grant you full access to your new website.
- Login to you Toolkit and change you password
- Add your listings
- Customize your website, add you photo and logo
- Get you domain name:If you want us to switch your existing domain name over to your new website, please contact Customer Support at (800) 743-5820 and we will assist you.
- To see if the domain name you want is available and to purchase it right now, please Click Here (Powered by Godaddy). For the domain name price list please Click Here.
- Post your listings on Craig's list
If you can not find answers to your questions in our Online Help or Training Videos, you may always email support@propertyminder.com or call (800) 743-5820 and our professionals will be glad to assist you.
Contents |
Login Procedure
You can log in to the Toolkit from your website or sign-in at www.propertyminder.com
To login into the Toolkit from your website:
- Open the browser (e.g. Internet Explorer) and type your domain name (http://www.yourdomainname.com) in the top Address Bar.
- On the top panel of your website, click Toolkit.
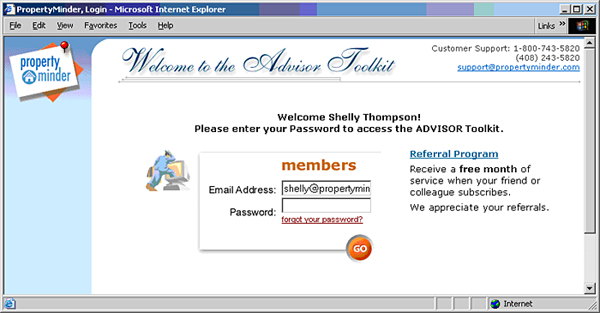
- On the screen that appears, type your login name and password
- Your login name is your email address.
- Your password is case sensitive. Make sure that the Caps Lock button on your keyboard is not pressed.
- If you do not remember your password, click the "forgot your password?" link and your password will be emailed to you.
To login into the Toolkit from www.propertyminder.com
- Open the browser (e.g. Internet Explorer) and type www.propertyminder.com in the Address Bar.
- On the top right corner, click on the "Clients Login" link.
- Type your login name and password.
- Your login name is your email address.
- Your password is case sensitive. Make sure that the "Caps Lock" button on your keyboard is not pressed.
My Account
My Account section allows you to:
- Add/change you billing information
- Add/change domain names
- Add, change or forward email boxes
To change your credit card:
- Login to you Toolkit
- Click My Account button on the left navigation panel.
- Go to Billing Information section.
- Fill in required fields and click Submit button.
If you have any questions concerning your billing information please forward them to accounting@propertyminder.com.
Email Information
This section allows you to add emails associated with your website. You can have 2 mailboxes at one time for free and $5/month for additional emails. The size of each mailbox is 50 MB.
To make an email with your domain name, go to My Account section within the Toolkit left navigation.
Refer to Your Domains field and click Add email support link.
In Email Information section click Add New Mail Box and fill in your mailbox name and password fields.
Email Forwarding
You also have an option to forward your emails from the website to another mailbox.
- To do so go to My account section of your Toolkit.
- In section Forward Email From click Add New Forward.
- Fill in the required fields and click OK.
WARNING: All email messages will be MOVED to the new email address and NOT COPIED.