Client Relationship Manager
From PropertyMinder WIKI
| Line 6: | Line 6: | ||
* Create a [[Work with Contacts|new contact manually]]. | * Create a [[Work with Contacts|new contact manually]]. | ||
* Edit/update contact information and choose a custom salutation for each contact. | * Edit/update contact information and choose a custom salutation for each contact. | ||
| - | * Import contacts into your CRM, or export them out to Outlook or another contact database. | + | * [[Work with Contacts|Import contacts]] into your CRM, or export them out to Outlook or another contact database. |
* Create and manage [[Work with Groups|contact groups]]. | * Create and manage [[Work with Groups|contact groups]]. | ||
* Create and assign automated [[Follow-up campaigns|Follow-up Campaigns]] for all clients, group of clients or individual contacts. | * Create and assign automated [[Follow-up campaigns|Follow-up Campaigns]] for all clients, group of clients or individual contacts. | ||
Revision as of 03:57, 17 June 2011
The Client Relationshiop Management (CRM) tool manages contacts that have been automatically captured on your website, manually added or imported from Microsoft Outlook or another contact database. It allows you to:
- Create a new contact manually.
- Edit/update contact information and choose a custom salutation for each contact.
- Import contacts into your CRM, or export them out to Outlook or another contact database.
- Create and manage contact groups.
- Create and assign automated Follow-up Campaigns for all clients, group of clients or individual contacts.
- Send personalized messages, holiday greetings, market updates, self-promotion and prospecting messages to your client or all contacts.
- Work with the Message Library to choose pre-written messages or to add your own messages that you can use while creating an event. Examples include: self-promotional, greeting, introductory, seller, buyer, thank you, birthday, home anniversary and other messages.
- Enter the MLS number of single or multiple listings and email the listing(s) to all contacts in the contact group.
- Add top selling agents to your CRM Networking contact group and send them your new listings and email updates on existing listings.
- Manage and view source details of online leads captured on your website.
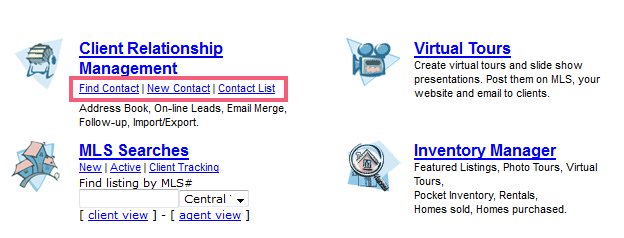
For your convenience we created quick-links in Toolkit which ease your access to main parts of CRM.
Quick-links on the Toolkit allow you to:
- Find a particular contact using the Find Contact link.
- Add a new contact to your contact list using the New Contact link.
- View your Contact List by clicking the Contact List link.
Captured visitors
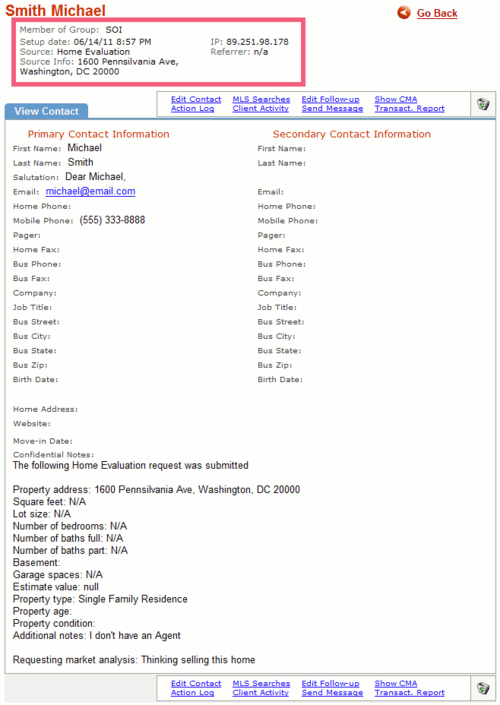
Your website automatically captures your website visitor's information via the various lead capture forms you have on the site. The captured visitor's information is automatically stored in your SOI group. You can review your captured leads within the first page of you CRM as seen below.
The alert, with information describing the nature of the visitor's request is emailed to you immediately after your visitor completes and submits the request. The request is also recorded in the note section of the contact record.
To view the request:
- Go to Client Relationship Management.
- Click the Contacts button.
- Click the Captured Visitors link.
- Click on the name of the contact.
- Within the individual contact page, you will see the details of the visit.
Hint: How to use search scheduling
You should select ongoing search notifications when working with active buyers and sellers. You may want to send past sales information to sellers to educate them about the value of their home.
Use monthly or weekly schedules as your follow-up strategy when setting up a search with existing and past clients. This tool can also be used to work with prospects that are not actively looking for homes.


