Outlook 2003 email setup
From PropertyMinder WIKI
(Difference between revisions)
| Line 13: | Line 13: | ||
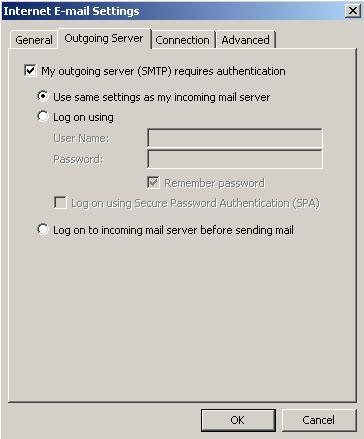
# Go to the '''Outgoing Server''' tab and select '''My Outgoing Server (SMTP) requires authentication'''. Make sure to check '''Use same settings as my incoming mail server'''. | # Go to the '''Outgoing Server''' tab and select '''My Outgoing Server (SMTP) requires authentication'''. Make sure to check '''Use same settings as my incoming mail server'''. | ||
#: [[File:Outlook2003_041.jpg|border|link=http://wiki.propertyminder.com/images/3/3c/Outlook2003_041.jpg]] | #: [[File:Outlook2003_041.jpg|border|link=http://wiki.propertyminder.com/images/3/3c/Outlook2003_041.jpg]] | ||
| - | # Go to the '''Advanced tab''' and verify that your '''Incoming Server(POP3)''' port is set to ''' | + | # Go to the '''Advanced tab''' and verify that your '''Incoming Server(POP3)''' port is set to '''995''' (SSL is ON) and the '''Outgoing server (SMTP)''' is set to '''587'''. Select '''OK''' when finished. |
#: [[File:Outlook2003_05.jpg|border|link=http://wiki.propertyminder.com/images/3/32/Outlook2003_05.jpg]] | #: [[File:Outlook2003_05.jpg|border|link=http://wiki.propertyminder.com/images/3/32/Outlook2003_05.jpg]] | ||
#: ''Do not use test account settings as it does not work with all email servers.'' | #: ''Do not use test account settings as it does not work with all email servers.'' | ||
Revision as of 05:41, 9 January 2025
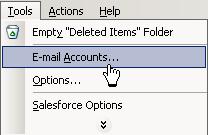
- Open your Outlook 2003 program. Go to Tools and select Email Accounts.
-
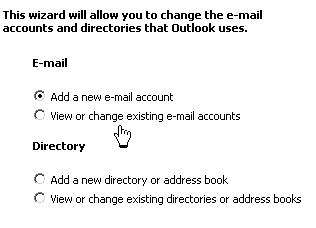
- Select Add New Email Account.
-
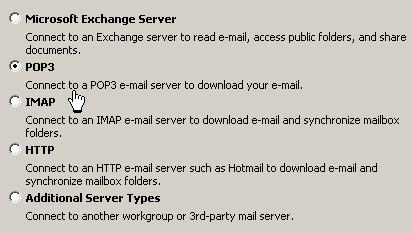
- Select POP3.
-
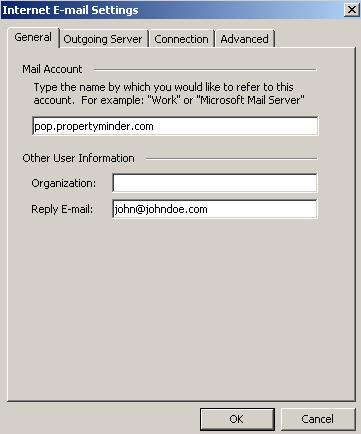
- Enter in your account information. Your username will be your full email address. Please be aware that usernames and passwords are case sensitive.
-
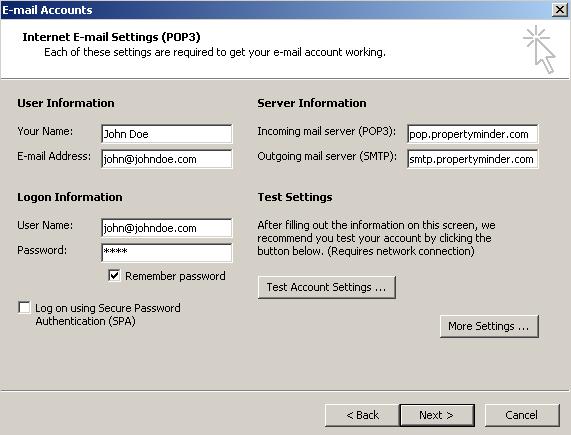
- POP3 Server: pop.propertyminder.com
- SMTP Server: smtp.propertyminder.com
-
- Enter in your email address as the Reply Email.
-
- Go to the Outgoing Server tab and select My Outgoing Server (SMTP) requires authentication. Make sure to check Use same settings as my incoming mail server.
-
- Go to the Advanced tab and verify that your Incoming Server(POP3) port is set to 995 (SSL is ON) and the Outgoing server (SMTP) is set to 587. Select OK when finished.
-

- Do not use test account settings as it does not work with all email servers.
-
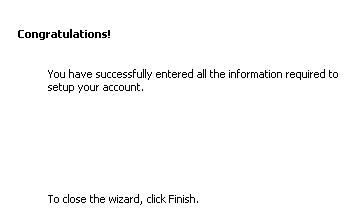
- Select Next and Finish'. You will then receive the congratulations notice.
-
- Go to your Outlook program and send a test message to support@propertyminder.com to verify that the email account has been setup properly.