Add Media Files
From PropertyMinder WIKI
| Line 62: | Line 62: | ||
To add a widget to your custom page or to your slogan, go to the corresponding page within the '''Buttons''' and follow steps 4 and 5 mentioned above. | To add a widget to your custom page or to your slogan, go to the corresponding page within the '''Buttons''' and follow steps 4 and 5 mentioned above. | ||
| + | |||
| + | |||
[http://wiki.propertyminder.com/index.php?title=Add_Media_Files&printable=yes Printable Version] | [http://wiki.propertyminder.com/index.php?title=Add_Media_Files&printable=yes Printable Version] | ||
Revision as of 07:40, 20 June 2011
You can add different rich media content to your AccelerAgent website: video, audio, etc.
Contents |
To add animated/flash file to your home page
We advice you to use pictures that are 312*200 pixels in creating your Flash (.swf) file. If the dimensions are bigger than what is advised, our flash loader will automatically resize your file.
Please do not upload large files. It will slow down your website.
This feature is available only for Animated Designs. So, you need to make sure are have chosen the right design layout. How to change layout you may read here
- To upload you own Flash .swf file login to the Toolkit.
- Click on the Website Editor link on the left side of the screen.
- Select 'Website Designer.
- Choose any of the animated designs and click Next.
- On the next screen, click Upload Custom Animation.
- Browse for the .swf file and upload it.
- Click Upload and check your website.
To I add video to your website
Please note that PropertyMinder do not offer hosting for video files, so, you need to register on any online video portals like YouTube and publish your video file there.
- When you uploaded your file, copy its the html code.
- Login to your Toolkit.
- Go to Website Editor and Buttons
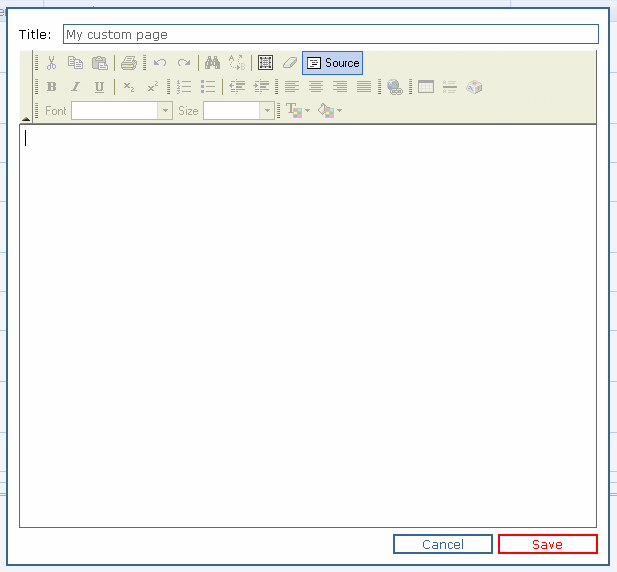
- Click Create Custom Page button (or open the page you whant the video to be added.
- On the editor window click Source button and insert the html code.
- If you want to add some text to the page, just click Source button once again and add some text, links or images.
- Click Save when you have finished.
Do not forget to enable your new custom page.
Text-to-Speech (TTS) feature
If you want to add some welcome message to your website you may use Text-to-Speech feature.
To create your voice message:
- Login to your Toolkit.
- Click Website Editor from the left navigation bar.
- Select Website Designer and click 'Next'.
- On the Create Voice Message section, check the box to enable voice message and enter your desired text into the box. Use the drop down menu to select the voice of the speaker. You can click 'Play' to test your new voice message and make a selection.
To add widget to your website
A web widget is a portable chunk of code that can be installed and executed within any separate HTML-based web page by an end user without requiring additional compilation. They are derived from the idea of code reuse. Other terms used to describe web widgets include: gadget, badge, module, webjit, capsule, snippet, mini and flake. Web widgets usually but not always use DHTML, JavaScript, or Adobe Flash.
Widgets often take the form of on-screen tools (clocks, event countdowns, auction-tickers, stock market tickers, flight arrival information, daily weather etc). [[1]]
You can add widgets to a home page, to your custom pages and to your slogan.
To add a widget to a home page:
- Login to your Toolkit.
- Click Website Editor and open Website Designer page.
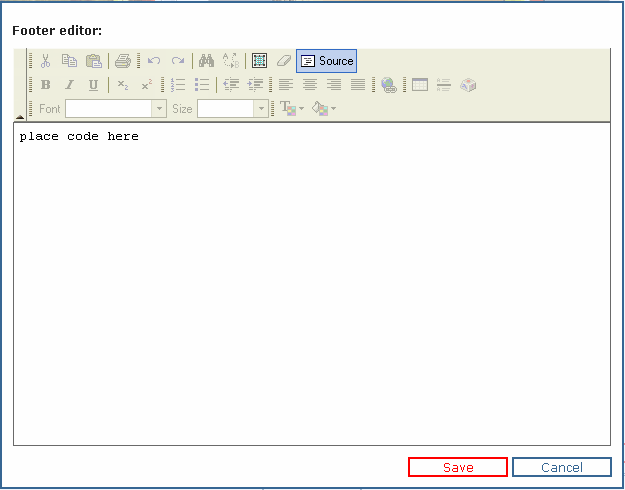
- Click Next and then click Change link to open the footer editor.
- Click the Source button on the top pane of the editor.
- Insert your widget code, click Source again and click Save.
- Preview your changes before saving again. Sometimes, the widget may not appear as it's supposed to be within the editor - that is okay. When you logoff from your Toolkit, you can see the final widget on your web page.
To add a widget to your custom page or to your slogan, go to the corresponding page within the Buttons and follow steps 4 and 5 mentioned above.

