Vista Mail Setup
From PropertyMinder WIKI
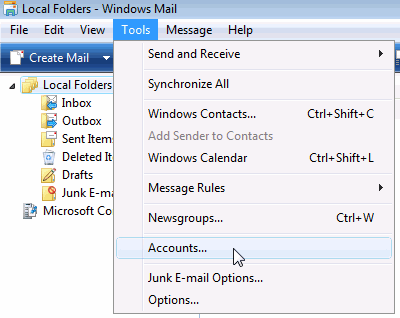
- Open Vista Mail.
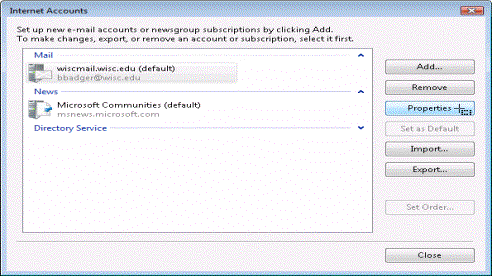
- Go to Tools and then select Accounts.
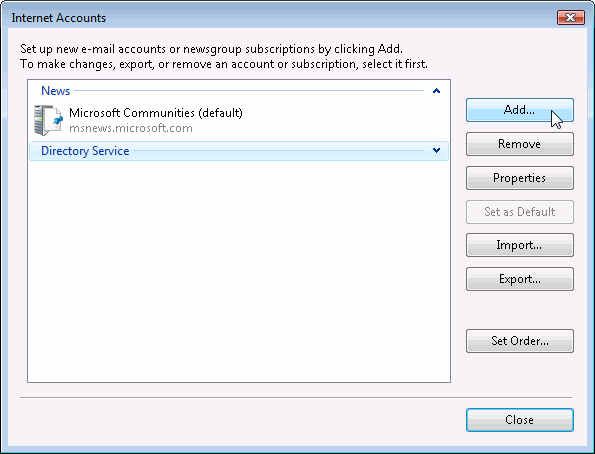
- Select Add to add a new email account.
- Select Email Account and select Next.
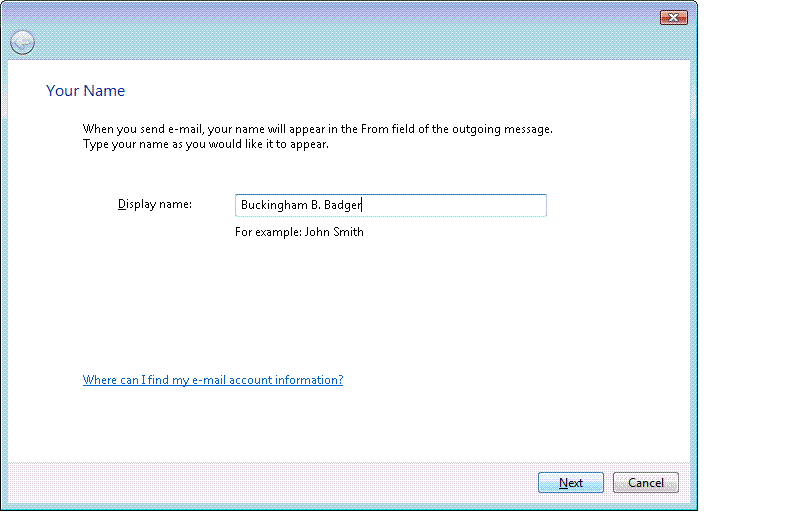
- Enter in your Full Name and then select Next.
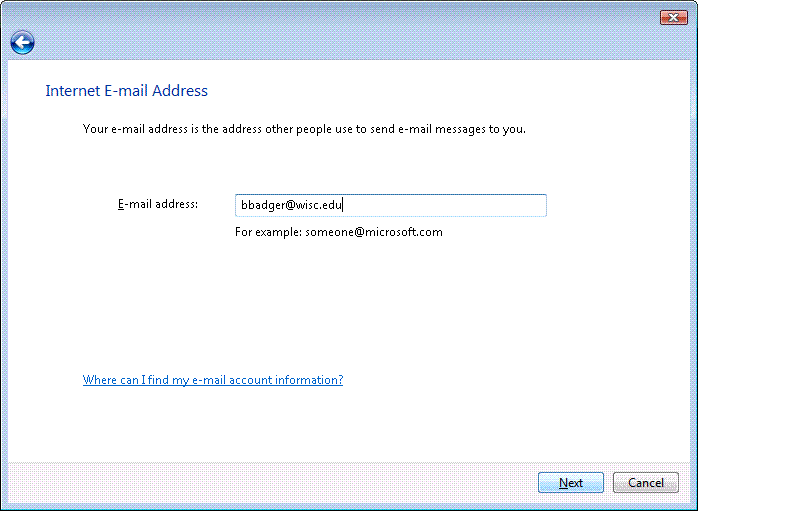
- Enter in your email address and select Next.
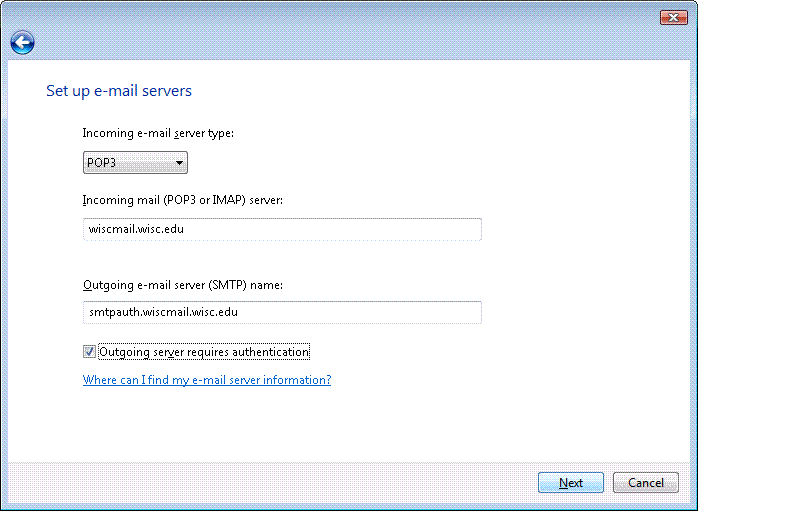
- Select POP3 for the Incoming email server type.
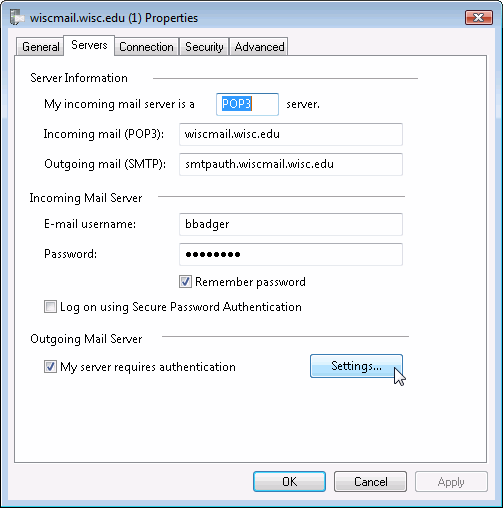
- Incoming mail server(POP3): pop.propertyminder.com
- Outgoing mail server(SMTP): smtp.propertyminder.com
- Be sure to check Outgoing Server requires authentication.
- Highlight the new account and select Properties.
- Go to the Servers tab and verify the account settings. Check My Server Requires Authentication under Outgoing Mail Server and select Settings.
- Make sure that the user has the appropriate ISP information entered in here.
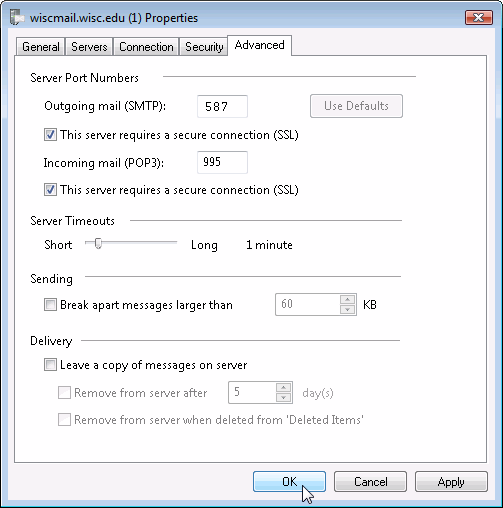
- Go to the Advanced Tab. The port settings will vary depending on who the ISP is.
- A test message can be sent to support@propertyminder.com to verify send and receive is working.